Premium Timber Floor Sanding in Toowoomba
Refresh Your Floors with Expertise
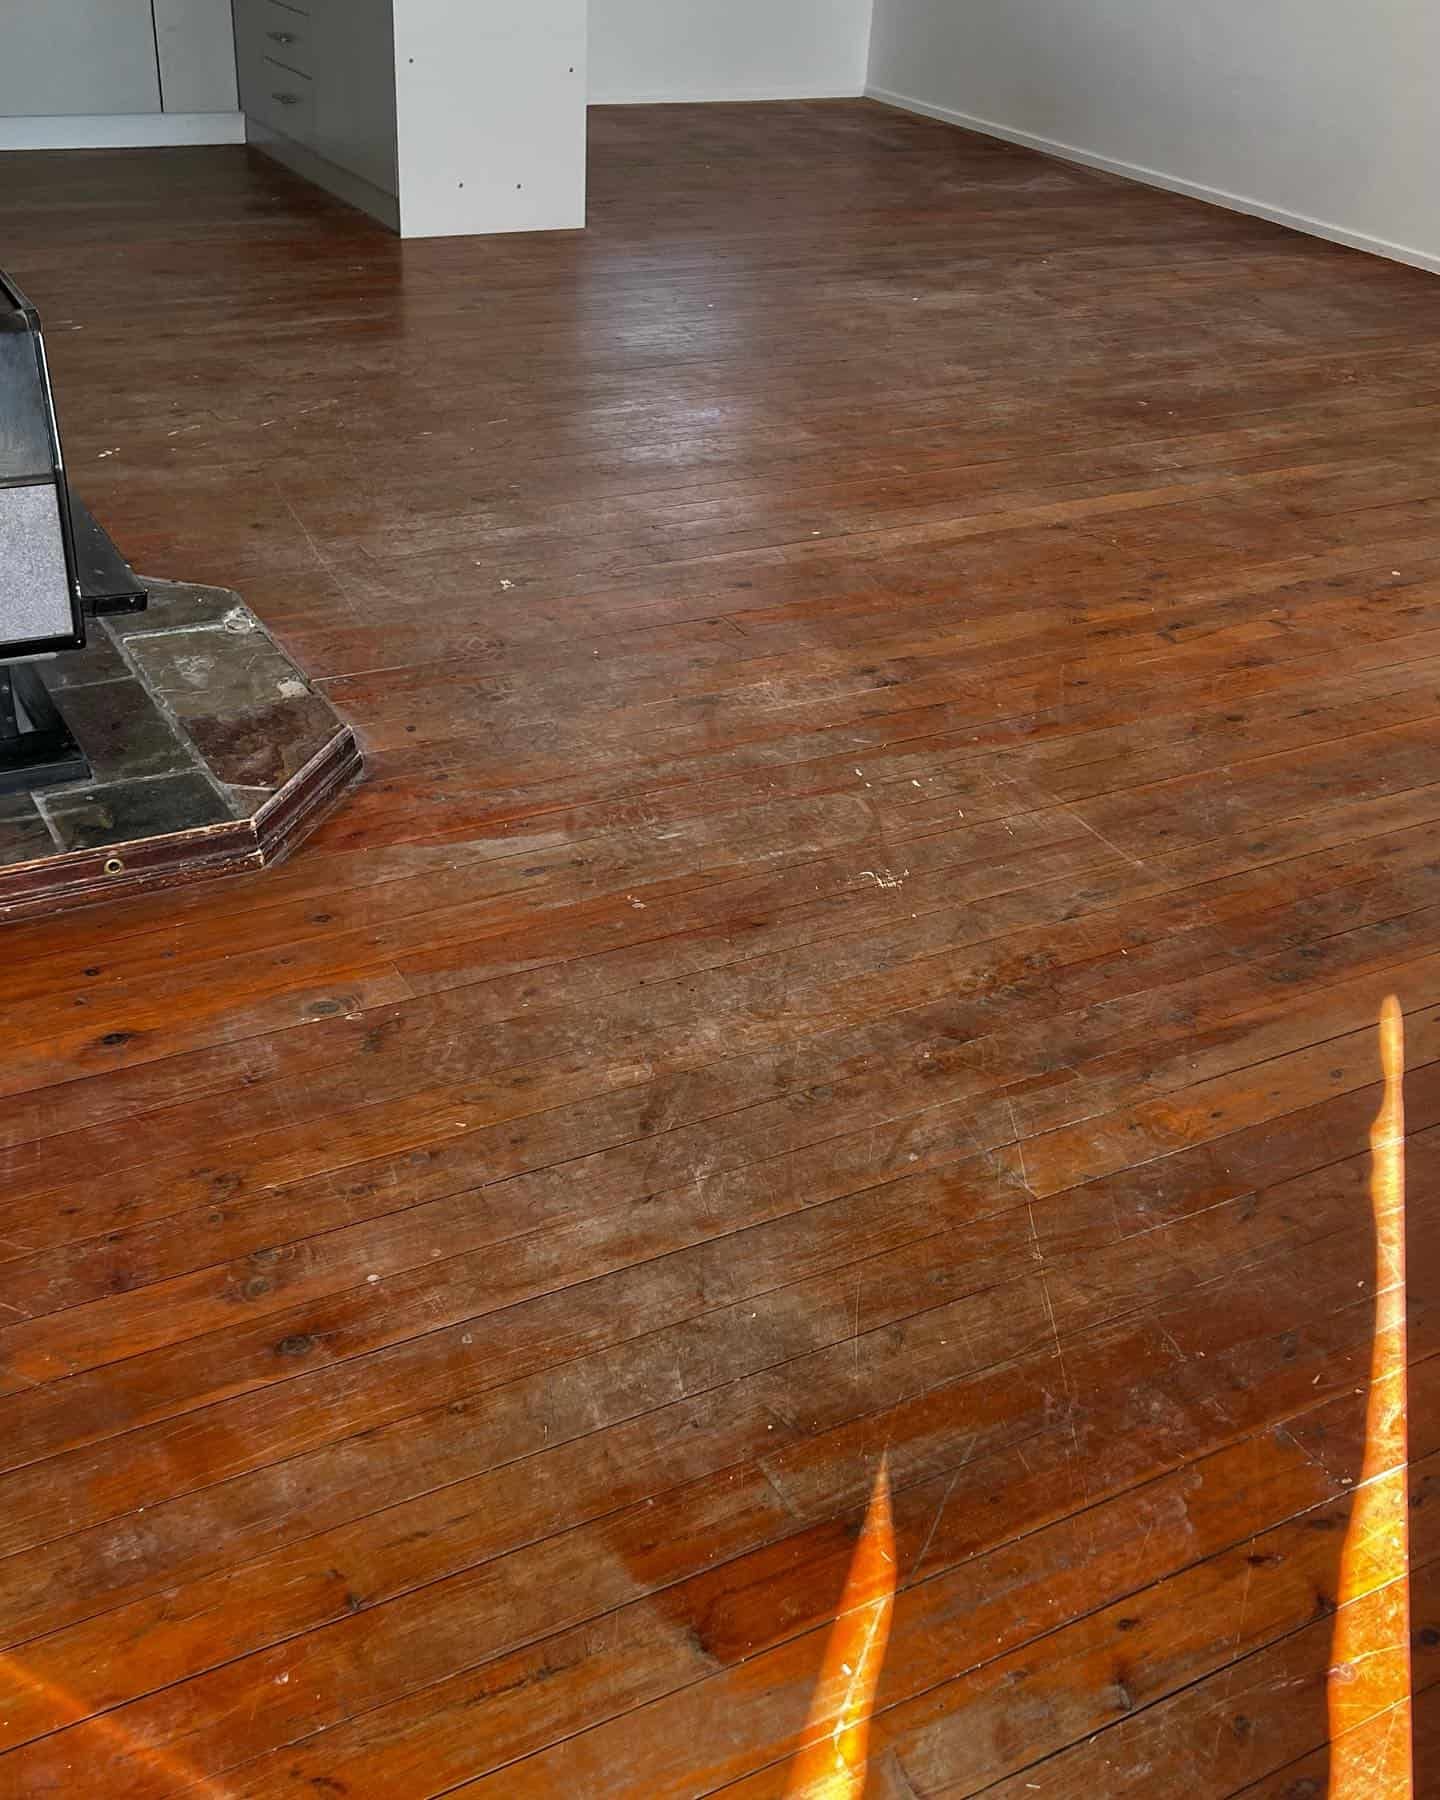
At Affordable Floor Sanding, we understand the value of a beautifully finished floor. Our expertise in floor restorations transforms tired-looking timber into polished, stunning surfaces that enhance the atmosphere of any room. With over 20 years of experience, we're committed to delivering an exceptional standard of workmanship on every project.
Whether your space is a charming residential property or a bustling commercial venue, we take the time to meticulously prepare each floor, ensuring a flawless finish. From repairing minor damages to levelling uneven areas, our preparation is as comprehensive as it is careful. Call us today on 0458 006 711 to book timber floor sanding. We service homes and businesses throughout Toowoomba, Warwick, Dalby and Gatton.
Why Choose Our Sanding Services?
When you entrust your floors to us, you're not just getting a service; you're investing in a revival of your space. Here's why we stand out:
- Full Quality Control: We personally oversee every aspect of the job, guaranteeing the highest quality outcome.
- One Man Show: Our one-on-one approach means direct communication and a consistent standard of excellence.
- Complimentary Consultations: We're happy to assess your flooring needs and provide a no-obligation quote, free of charge.
- Two Decades of Expertise: Our extensive experience ensures we bring a wealth of knowledge to your project. Feel the difference that professional floor sanding can make.
For a seamless and refined finish, dial
0458 006 711 to discuss your project with Affordable Floor Sanding. Let's breathe new life into your floors together.
Floor Sanding Process
Step 1: Preparing the Floor
Before we dive into the restoration process, we meticulously prepare the rooms and floor for sanding. This involves sealing off all areas, setting up our advanced dustless equipment, sweeping, vacuuming, addressing protruding nails and attending to necessary repairs.
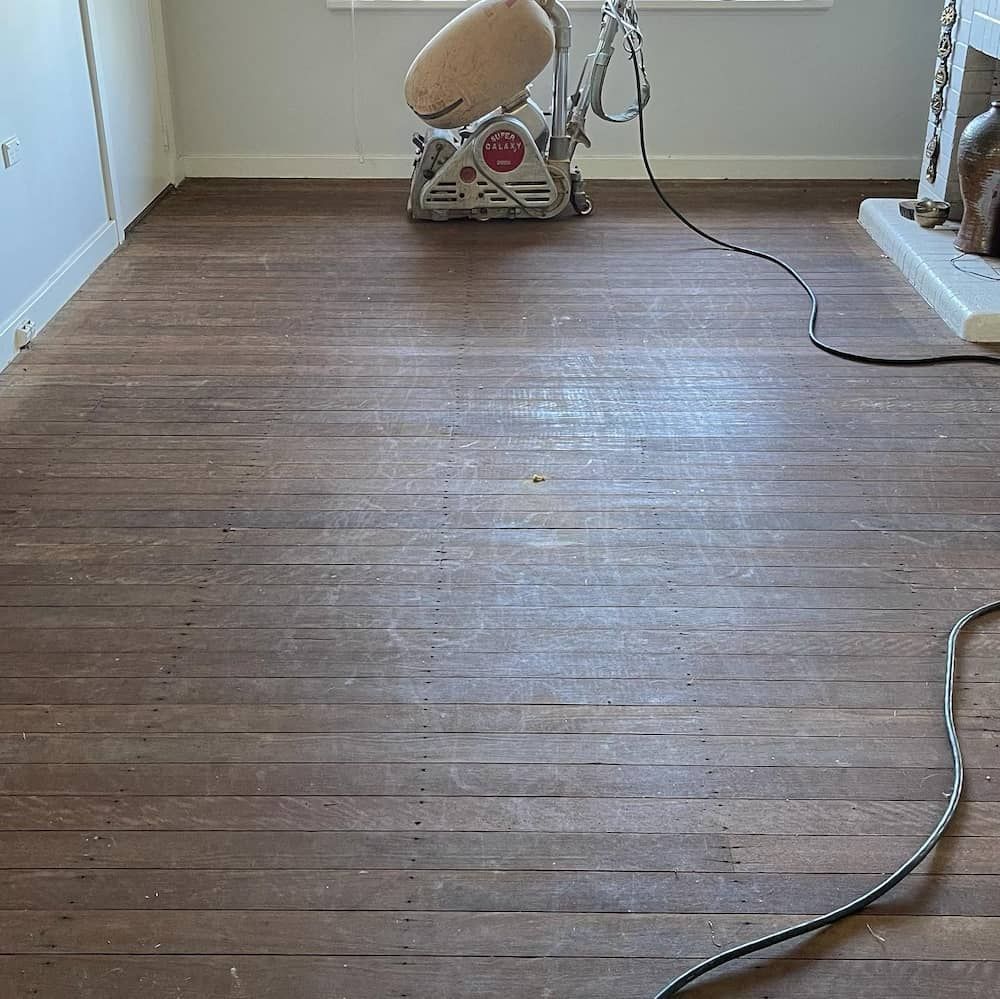
Step 2: Removing Old Finish
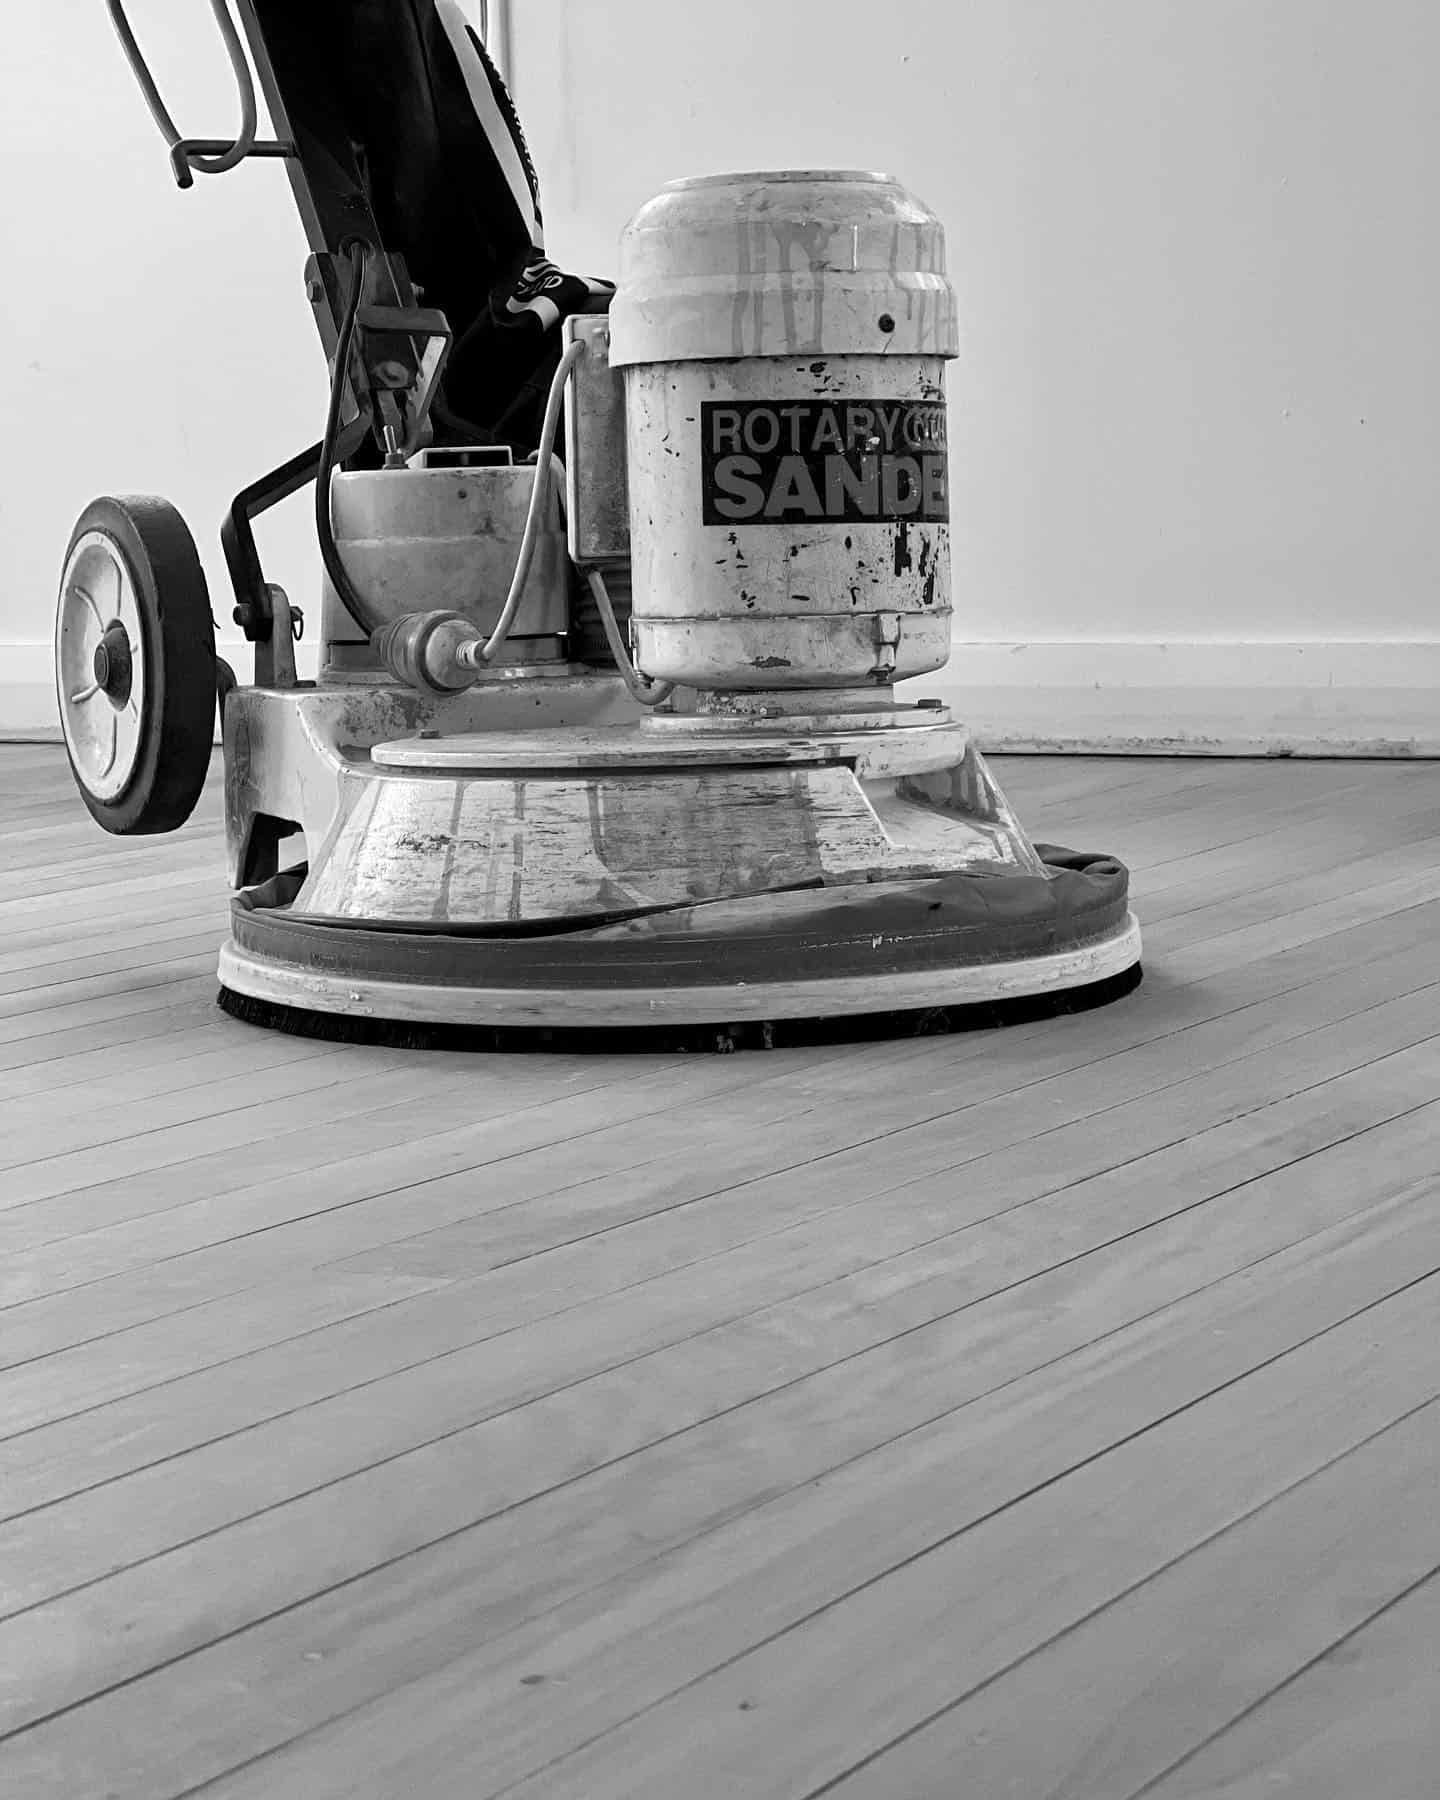
We deploy our specialised sanding machinery to strip away the existing finish. Employing a methodical crosscut technique, we flatten the surface, returning it to its raw wooden state. This meticulous process incorporates multiple passes using various sandpaper grits starting from 40 grit and up. Our arsenal includes a range of sanding tools such as belt sanders, edger sanders and hand scrapers. (Learn more about our effective dust containment system below.)
Step 3: Vacuuming & Filling
Once the floor is stripped, we fill any remaining nail holes with matching putty. This step involves extensive vacuuming to ensure a pristine surface. While we regret that we're unable to fill gaps between boards in Toowoomba's timber floors due to significant seasonal variations, we have outlined which floors can and cannot use putty/filler in this guide.
Step 4: Refining with Fine Sanding
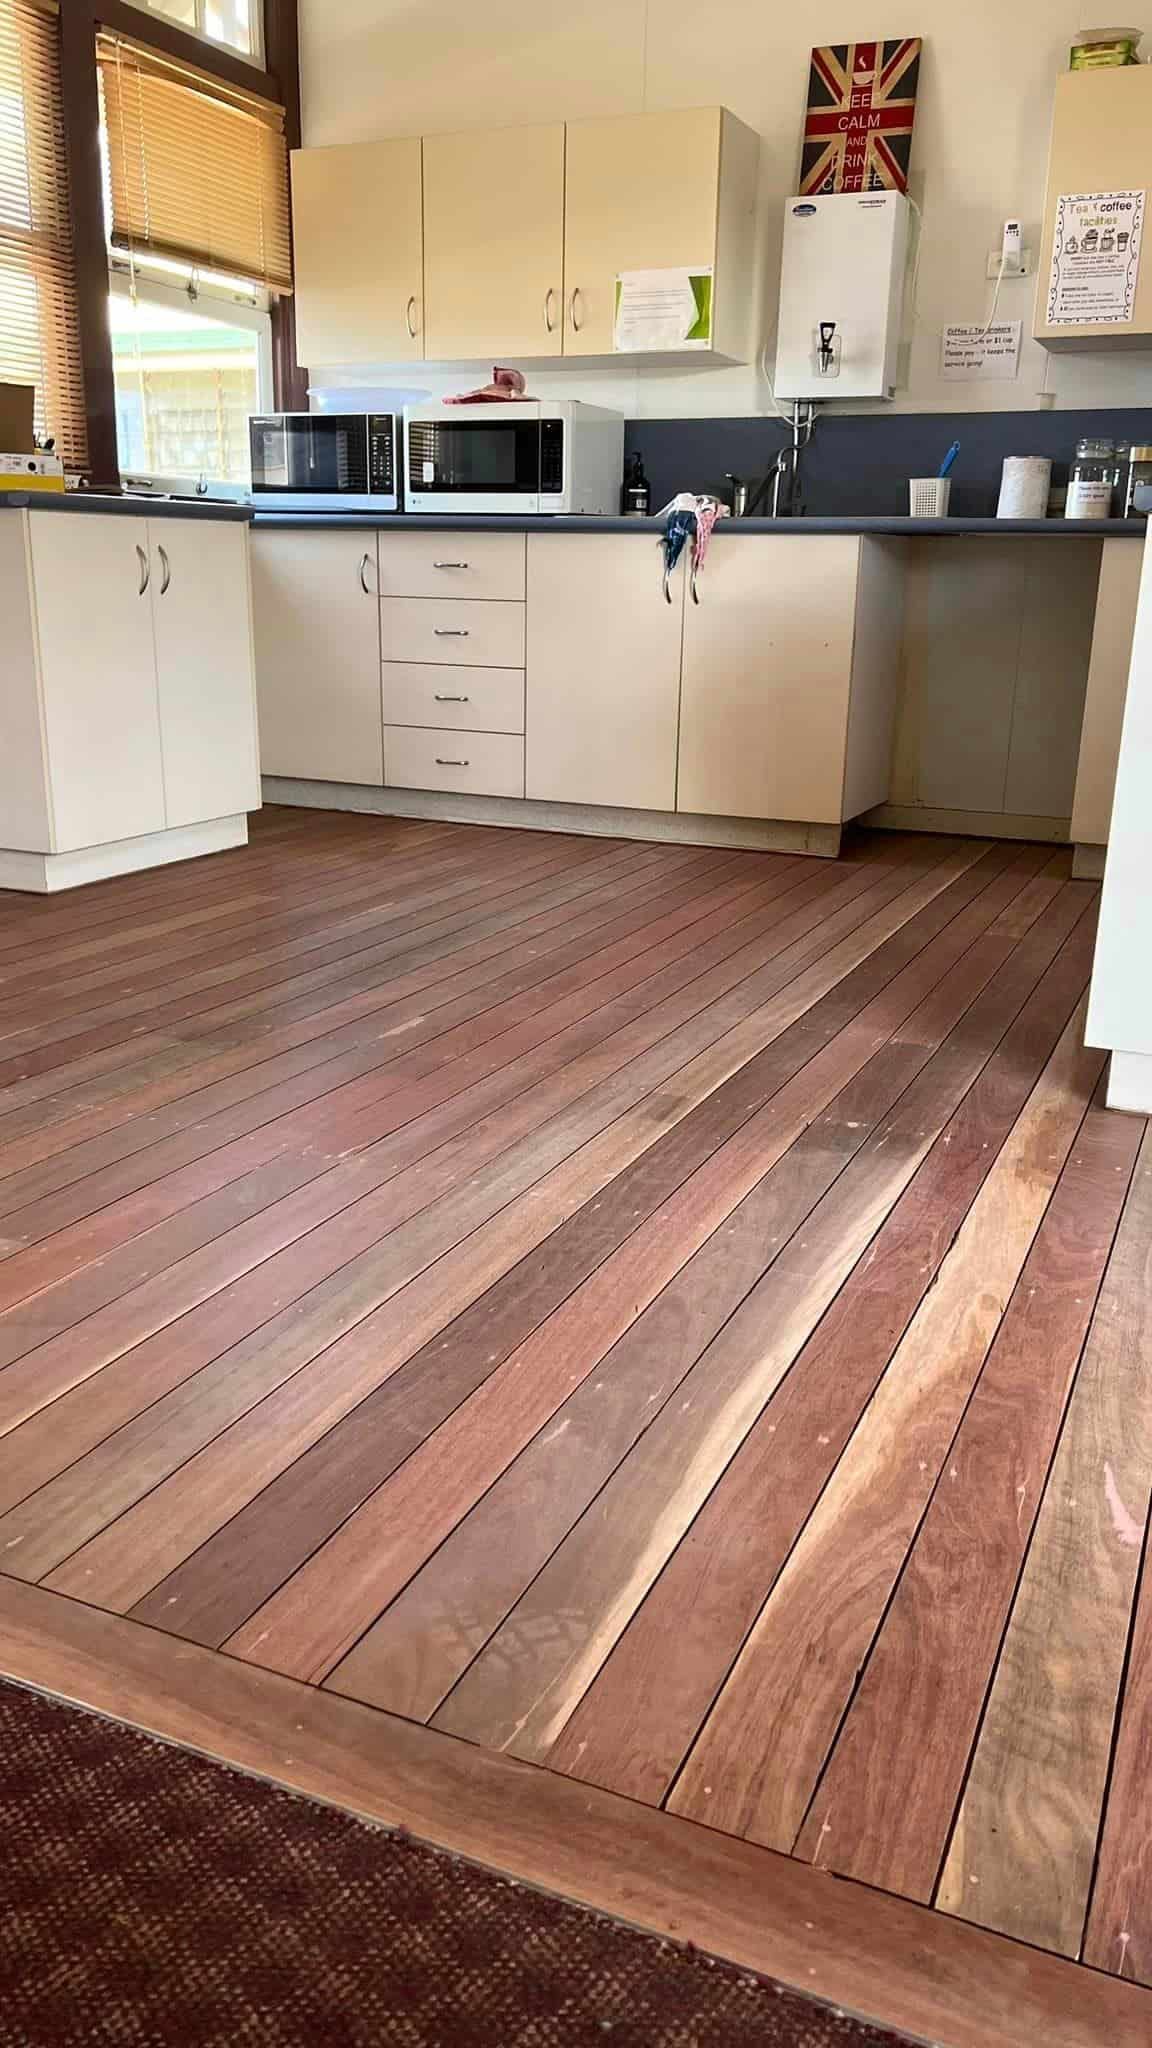
Moving on, we enter the delicate sanding phase. As the initial sandpaper used for finish removal leaves behind scratches and fillers, a sequence of finer sandpaper is meticulously employed to eliminate imperfections and achieve a flawlessly smooth floor.
Step 5: Thorough Vacuuming
At this stage, rigorous vacuuming takes precedence. Ensuring the removal of any lingering floor debris is crucial to prevent contamination in subsequent steps.
Step 6: Water-Pop and Stain (Optional)
Should you opt to alter the floor's colour, this multi-step process begins with water-popping to prepare for staining. Following this, your chosen stain/colour is meticulously applied.
Step 7: Applying the Finish
Your floors are now primed for coating. Depending on your chosen finish system, this phase entails either one or three coats, applied through rolling or buffing. With our multi-coat systems, each coat undergoes abrasion, followed by thorough vacuuming and tacking. After completion, your floors require drying time. Typically, they are ready for walking the next day. A comprehensive site inspection is conducted for quality assurance. Final cleanup includes restoring removed items like vents and doors. We advise cautious use for a few days to ensure the floors fully dry and cure.
Step 1: Preparing the Floor
Before we dive into the restoration process, we meticulously prepare the rooms and floor for sanding. This involves sealing off all areas, setting up our advanced dustless equipment, sweeping, vacuuming, addressing protruding nails and attending to necessary repairs.
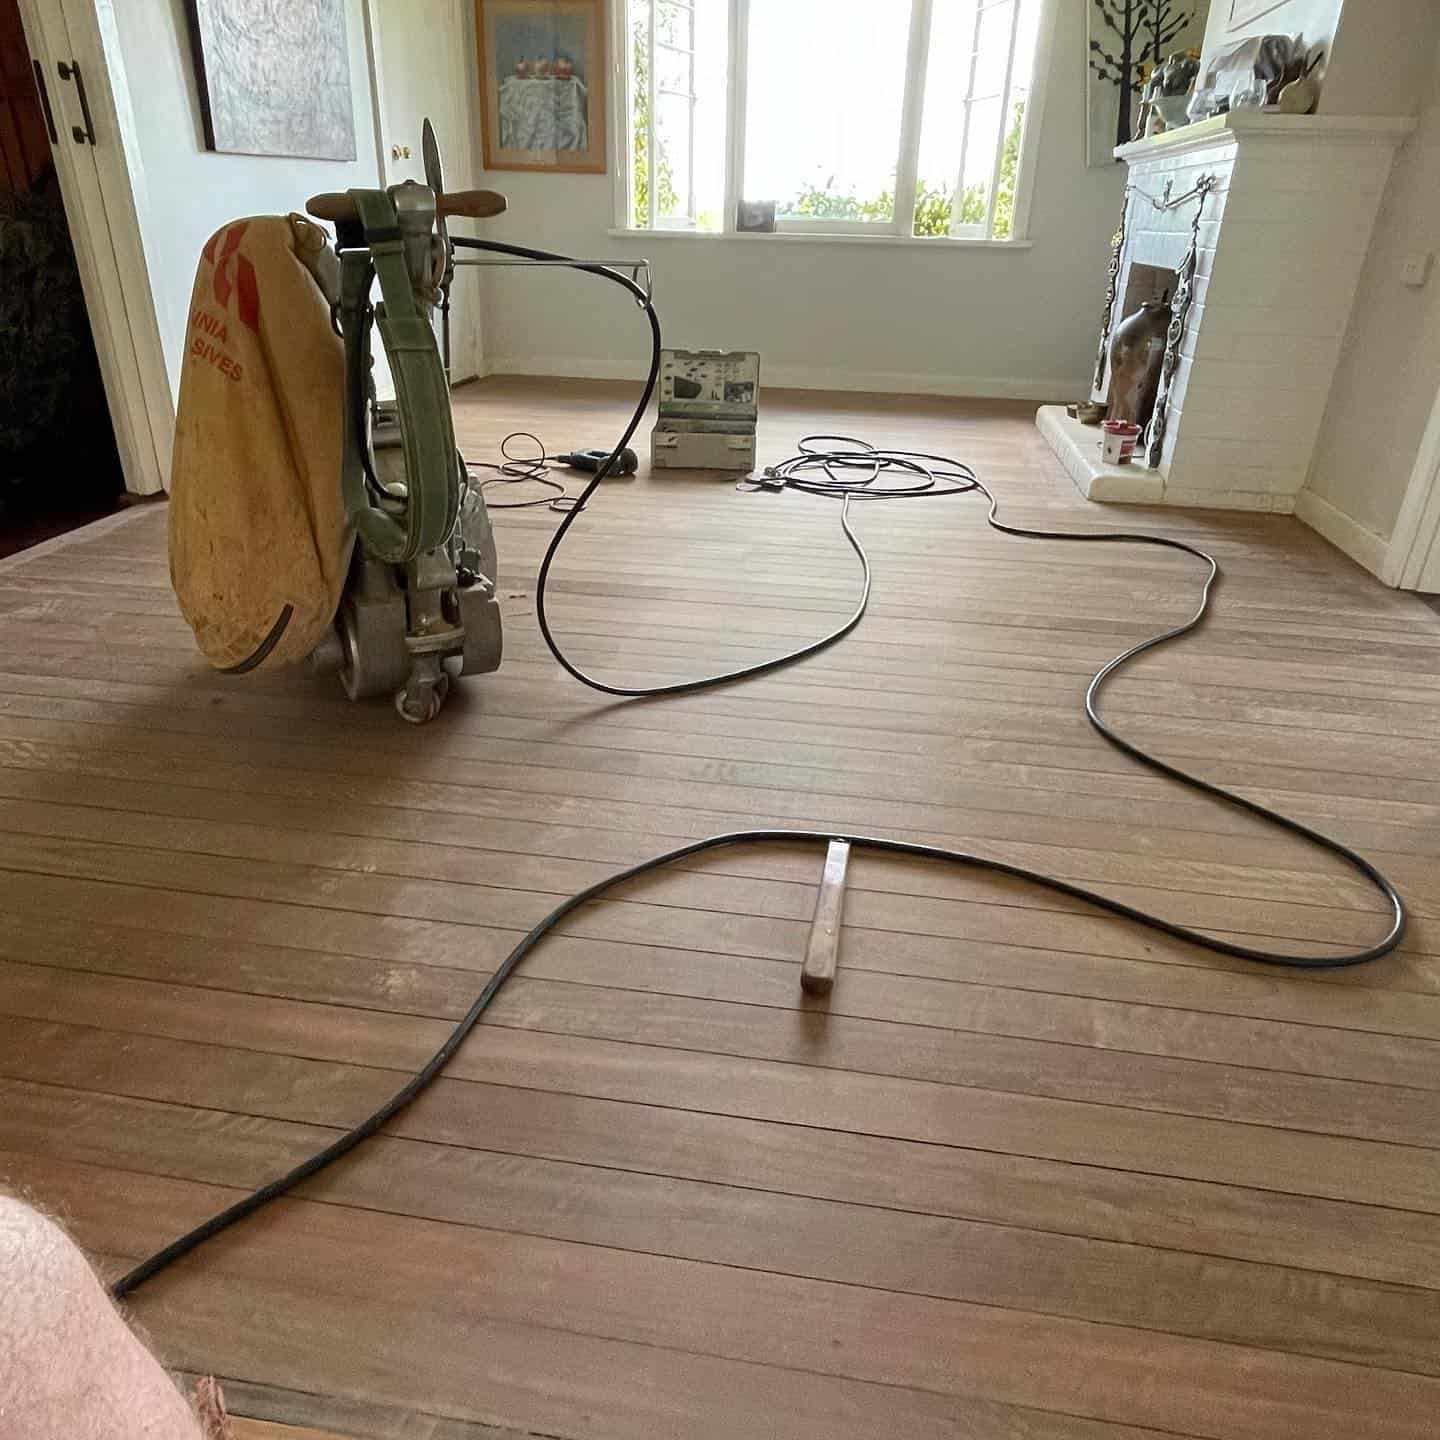
Step 2: Removing Old Finish
We deploy our specialised sanding machinery to strip away the existing finish. Employing a methodical crosscut technique, we flatten the surface, returning it to its raw wooden state. This meticulous process incorporates multiple passes using various sandpaper grits starting from 40 grit and up. Our arsenal includes a range of sanding tools such as belt sanders, edger sanders and hand scrapers. (Learn more about our effective dust containment system below.)
Step 3: Vacuuming & Filling
Once the floor is stripped, we fill any remaining nail holes with matching putty. This step involves extensive vacuuming to ensure a pristine surface. While we regret that we're unable to fill gaps between boards in Toowoomba's timber floors due to significant seasonal variations, we have outlined which floors can and cannot use putty/filler in this guide.
Step 4: Refining with Fine Sanding
Moving on, we enter the delicate sanding phase. As the initial sandpaper used for finish removal leaves behind scratches and fillers, a sequence of finer sandpaper is meticulously employed to eliminate imperfections and achieve a flawlessly smooth floor.
Step 5: Thorough Vacuuming
At this stage, rigorous vacuuming takes precedence. Ensuring the removal of any lingering floor debris is crucial to prevent contamination in subsequent steps.
Step 6: Water-Pop and Stain (Optional)
Should you opt to alter the floor's colour, this multi-step process begins with water-popping to prepare for staining. Following this, your chosen stain/colour is meticulously applied.
Step 7: Applying the Finish
Your floors are now primed for coating. Depending on your chosen finish system, this phase entails either one or three coats, applied through rolling or buffing. With our multi-coat systems, each coat undergoes abrasion, followed by thorough vacuuming and tacking. After completion, your floors require drying time. Typically, they are ready for walking the next day. A comprehensive site inspection is conducted for quality assurance. Final cleanup includes restoring removed items like vents and doors. We advise cautious use for a few days to ensure the floors fully dry and cure.
Faces of Humanity